
KittaParts assembly
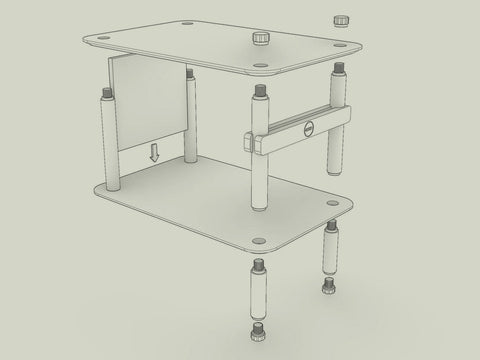
KittaParts is a threaded dowel system. Shelves stack between lengths of dowel, and the same handful of parts builds almost any configuration you like. Your unit will have its own mix of shelf sizes and dowel lengths, but the method below is the same every time.
How the system works
Every unit is built from threaded dowels, shelves with a hole at each corner, adjustable feet at the bottom and caps on top. Dowels thread into each other through the shelf holes, so each shelf is locked between the dowel below it and the dowel above.
Work upwards, one layer at a time, and add panels for doors and drawers as you go.
If you have a blind thread or flush top, please view our blind thread assembly guide.
1. Start with a foot and a dowel
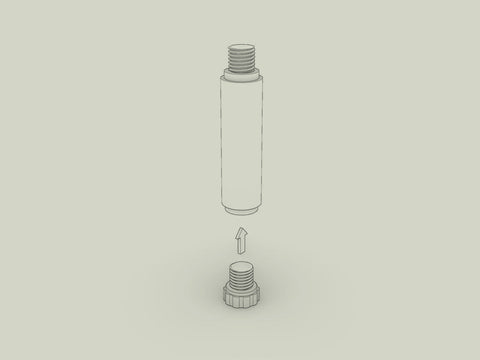
Thread a short dowel into an adjustable foot. That pairing becomes one leg, and you’ll need one for each hole in your bottom shelf.
2. Add your first shelf
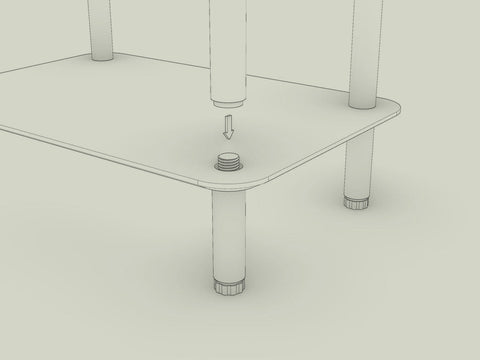
Sit your bottom shelf onto the legs so each dowel comes up through a corner hole, then thread the next dowel down onto it from above to capture the shelf.
This first layer is the fiddly one. Once the bottom shelf is locked in with its legs and first set of dowels, it firms up and you’re on your way.
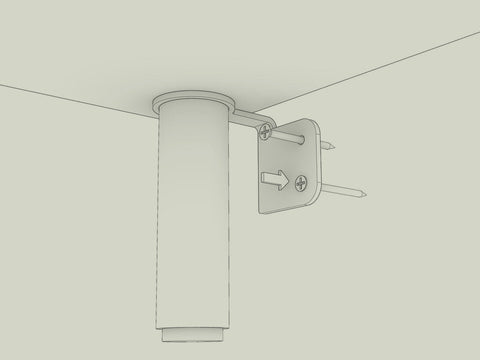
4. Fit the safety bracket
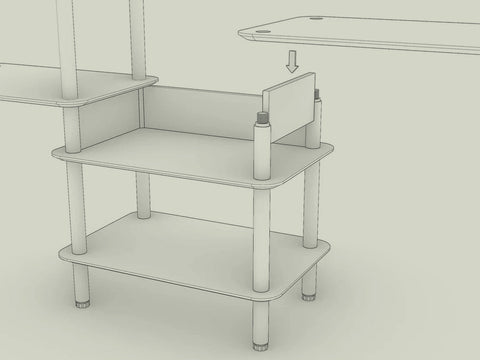
Before your final shelf goes on, fit the safety bracket. It slips over the last dowel and screws back to the wall, and it's a safety requirement that you use it. See the safety bracket guide for the detail.
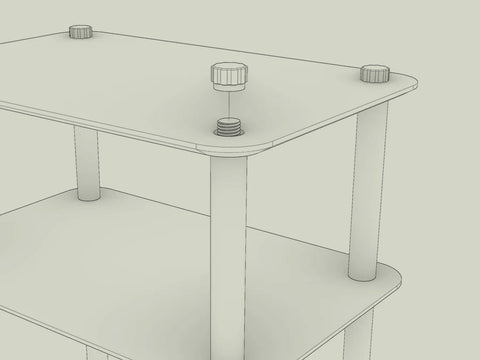
5. Finish with caps
Thread a cap onto each of the dowels to top out your unit.
If your unit has blind threads for a flush top, the logic reverses and it's built upside down from the top shelf. See the blind threads guide.
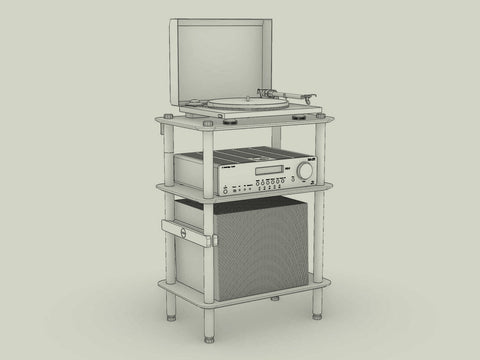
6. Enjoy your KittaParts
Stand it where you want it and level it up on the adjustable feet.
We love seeing photos of finished units loaded up, so send one or share it to your stories and tag us at @stavn.